Article
Correcting Safety Sensors
Garage doors, being very heavy objects, can pose major safety threats to people and pets as well as causing damage to your vehicles if the garage door comes down when it should not.
Because of this, properly installed and working garage door sensors are very important in preventing injury or damage.
Sensors are placed approximately six inches above the floor on each side of the garage door opening. They generate a low-voltage beam which completes an electrical circuit when the garage door is activated. If the completed electrical circuit is broken, i.e., someone steps between the sensors and interrupts the beam, the garage door stops descending and reverses direction.
If the garage doors are displaying symptoms that indicate that the sensors need adjusting, first make sure that the opener is plugged in and the electrical circuit is active.
The first step is to make sure that the sensor eyes are clean. Clean any debris, cobwebs or dust and test with the control or remote to see if the garage door will completely close.
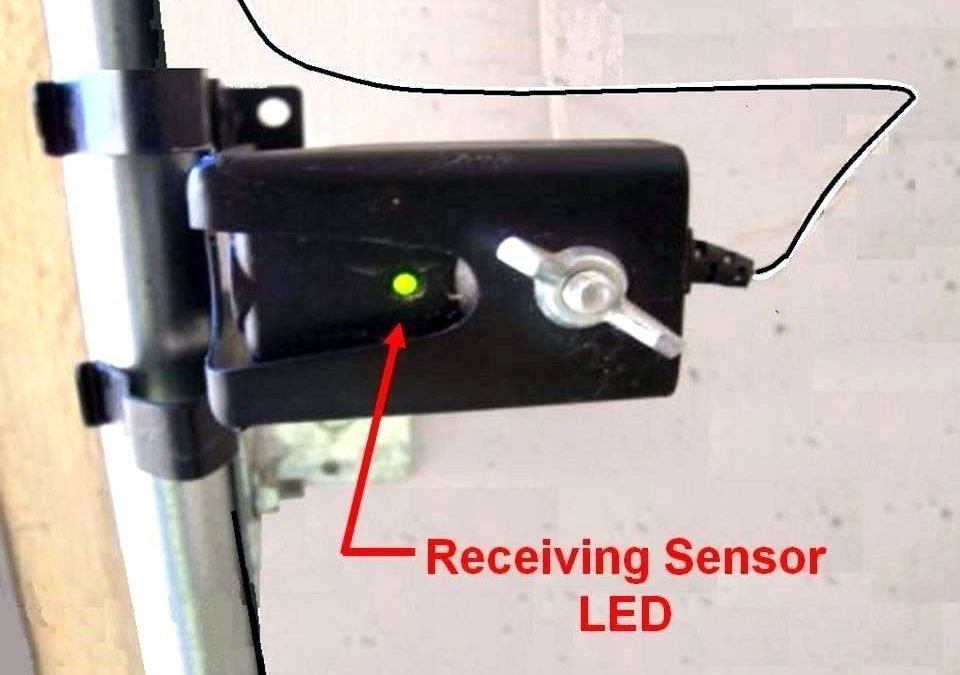
If it does not close completely, you will need to loosen the screws holding each sensor just enough so you can move and adjust the positioning of the sensor’s eye. The green or red power-indicator light on each of the sensors need to be lit indicating that they are aligned and completing the electrical circuit. Tighten the screws on each sensor. Check again if the garage door will open and close completely.
If the garage door still does not close properly, you need to check the electrical wires and circuits. Using a step ladder to reach the garage door opener unit, unplug the power cord from the ceiling. Remove the cover and identify the connection terminals where the wires are attached. Check for loose wires and tighten the terminal screws with a small screwdriver to ensure proper connection. Plug the opener back in and see if both sensor lights are lit.
At this point, if the sensors are not both illuminated, inspect the wires coming from each sensor to the back of the garage door opener for any damage. If they look good, then one or both of the sensors might need to be replaced. If any of the wires are bare, burned or broken, you will need to replace them. Note: Do not work on electrical system unless opener is unplugged and the breaker in the electrical panel to the garage door’s electrical circuit is off.
To replace the wires connecting the garage door sensors to the automatic opener, loosen the terminal screws at the opener’s back to remove the wires. Pull the wires off the ceiling, walls and the sides of the doors down to the sensor, taking them off the fasteners. Disconnect the wires from the sensors.
You will need to cut a piece of new double-strand insulated low-voltage wire for the proper length. Strip ½ inch of insulation off the wires at the ends so you can connect the wire to the terminals, both on the sensors and at the opener connection terminals. Feed the wires through the fasteners and attach. Tighten screws and plug in the power cord.
At this point, the garage door should be operating correcting. If not, call your local garage door professional to safely repair your sensors and garage door.